***
title: Google Chat
excerpt: ''
deprecated: false
hidden: false
metadata:
title: ''
description: ''
robots: index
next:
description: ''
---------------
Configuring and exposing a AI Assistant in Google Hangouts Chat primarily involves the following:
1. Creating a project in Google Cloud Platform. All subsequent configuration steps we take would be in the scope of this ‘project’ you create.
2. “Enable” the Google Chat API for the project.
3. Configure credentials for the API. There are two steps here:
1. Create a Service account for the AI Assistant
2. Generate a credentials JSON private key file
# Pre-Requisites
1. Please ensure an existing Google Workspace or Google Drive user ingestion.
2. Please ensure you have the administrative privileges for the Google Cloud Platform in your organization.
# 1) Navigate to the Google API dashboard:
Start by navigating to [https://console.developers.google.com/apis/dashboard](https://console.developers.google.com/apis/dashboard) in your browser.
# 2. Create a new project
Under your organization space, create a new project and name it “Moveworks”. Please be sure to confirm that all the following operations are done for the “Moveworks” project.
# 3. Enable the Google Chat API
1. After you click on the **Enable APIS and Services** button, search for the Google Chat API as shown below.
2. Select **Google Chat API**:
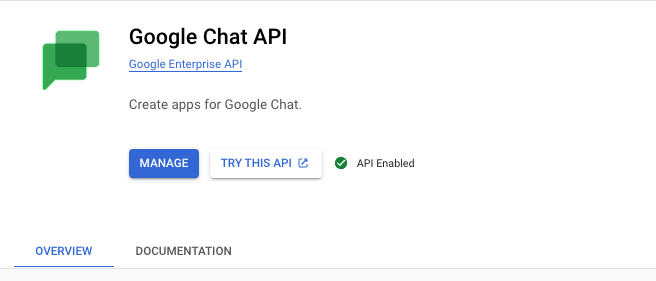
3. Click “Enable” to add it to the Moveworks project:
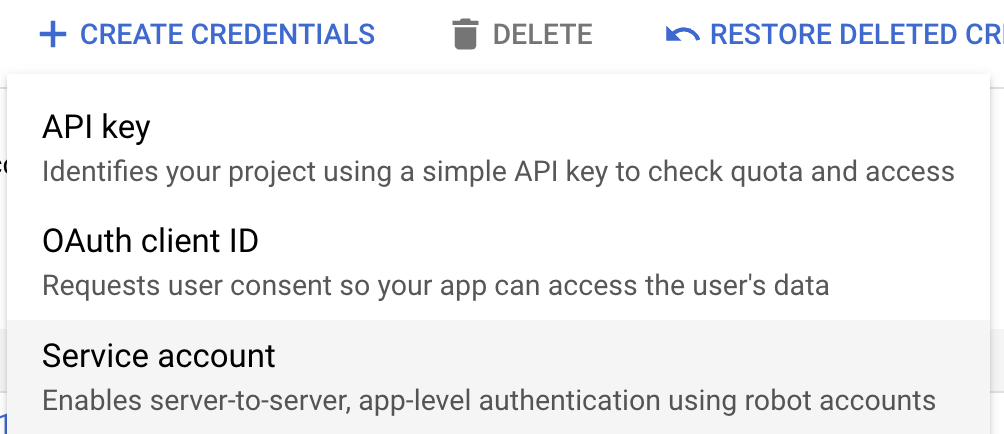
# 4) Get credentials for the Google Chat API
Next, we will create a Service Account for the AI Assistant to access. Click on “Credentials” on the left hand navigation menu, then select “Create Credentials > Service account”:
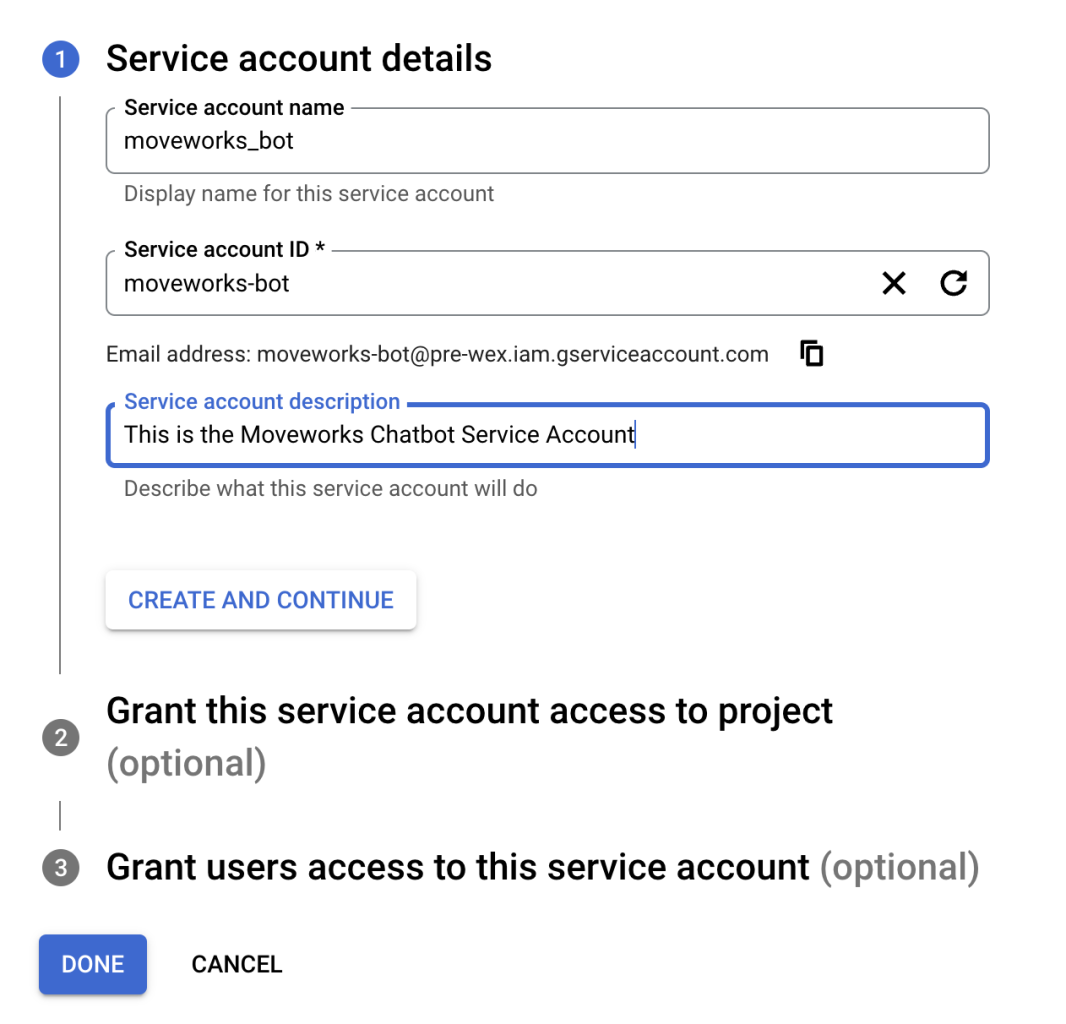
Populate the necessary information as needed in the form:
After creating the Service Account, on the main “Credentials” menu, click on the service account email address. Then select “Keys > Add Key > Create new key”
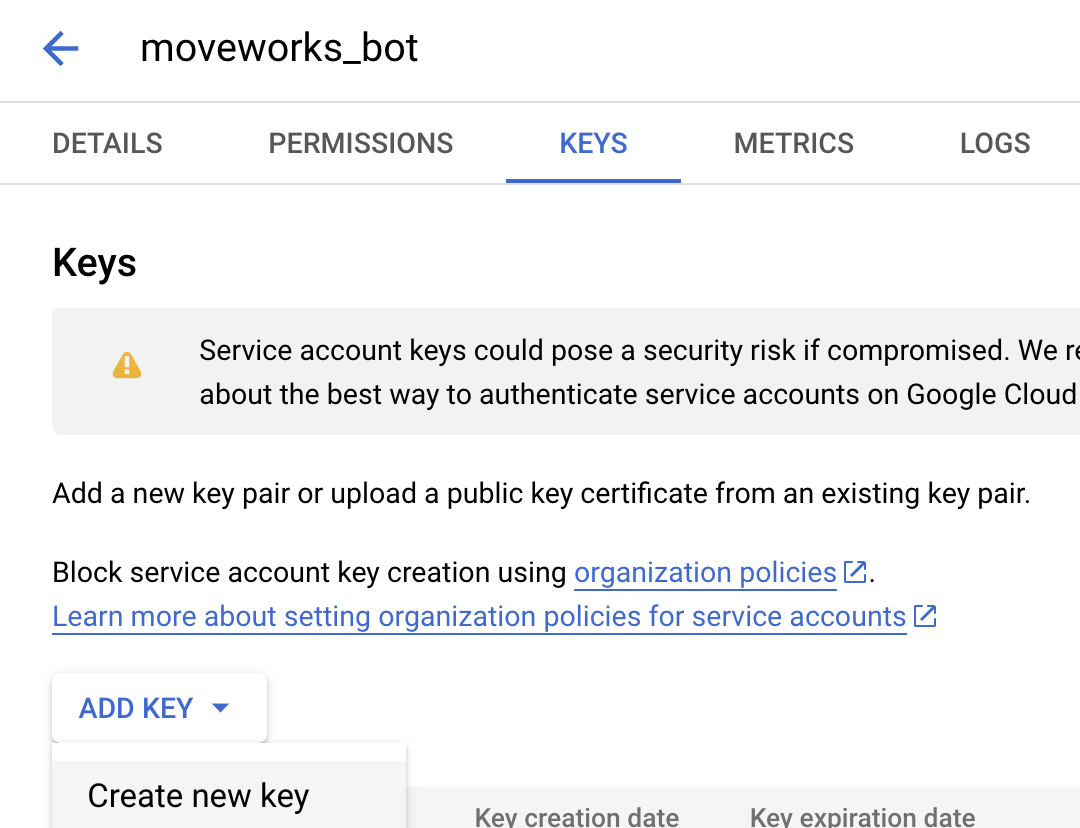
Leave the type as JSON and click Create.
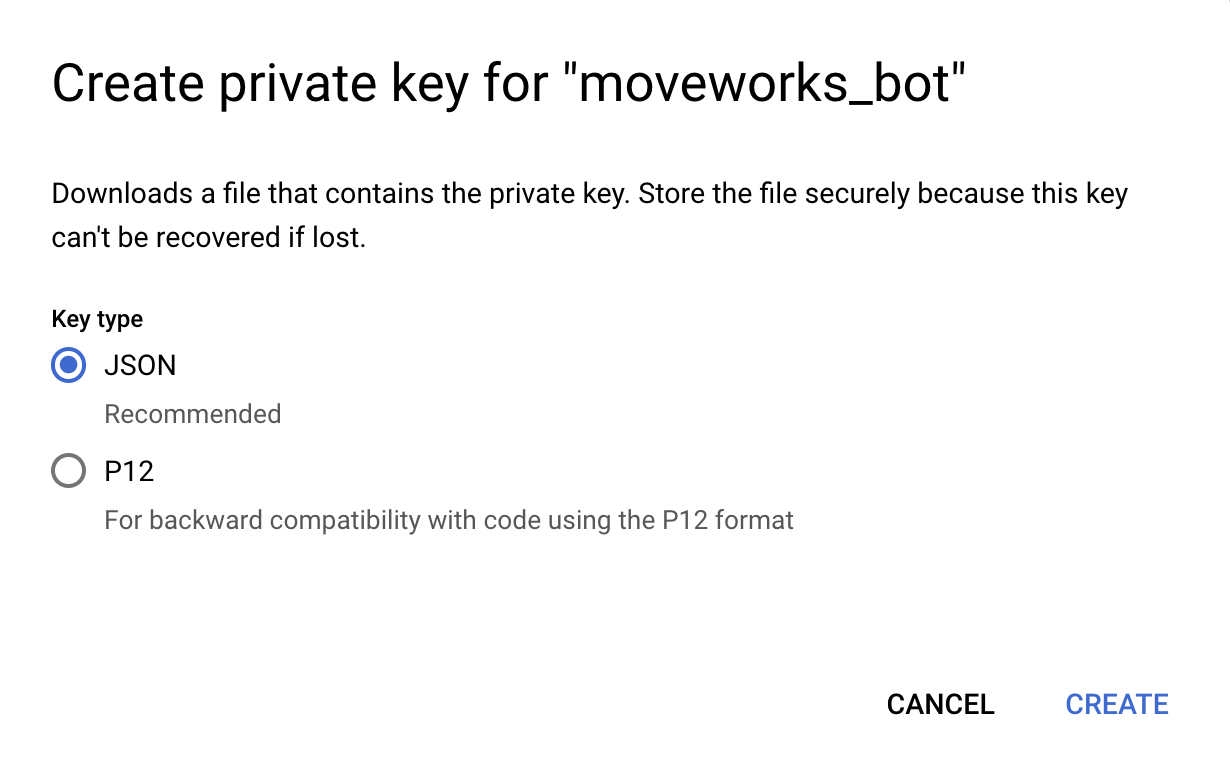
This will generate JSON credentials similar to the one below and automatically download them to your computer.
NOTE: After you download the key file, you cannot download it again.\*\*
```
{
"type": "service_account",
"project_id": "moveworks",
"private_key_id": "",
"private_key": "-----BEGIN PRIVATE KEY-----\\n-----END PRIVATE KEY-----\n",
"client_email": "moveworks@moveworks.iam.gserviceaccount.com",
"client_id": "",
"auth_uri": "https://accounts.google.com/o/oauth2/auth",
"token_uri": "https://oauth2.googleapis.com/token",
"auth_provider_x509_cert_url": "https://www.googleapis.com/oauth2/v1/certs",
"client_x509_cert_url": "https://www.googleapis.com/robot/v1/metadata/x509/moveworks%40moveworks.iam.gserviceaccount.com"
}
```
**Securely save the credentials JSON file as you will not be able to download this again. It will be needed to complete the configuration in Moveworks Setup.**
# 5. Configure the AI Assistant in Google Chat
Navigate back to the dashboard ([https://console.developers.google.com/apis/dashboard](https://console.developers.google.com/apis/dashboard)) and click on the Google Chat API listed. Click on `Configuration` on the Google Chat API menu which will take you to the AI Assistant configuration page. Fill out the following fields as appropriate: (all settings can be changed later on)
1. **App Name:** Temporarily put “Moveworks” if no AI Assistant name has been chosen yet.
1. Note: The *App Name* can have spaces within it if desired.
2. **Avatar URL:** Temporarily can use a placeholder. This will eventually be updated to your AI Assistant ’s avatar. This can be a Cloudinary link or a previously uploaded avatar from the Slack Edge CDN.
3. **Description:** “*\'s AI-Powered IT Assistant”*
4. **AI Assistant Functionality:** Choose `Receive 1:1 messages` and select `Enable Interactive features`
5. **Connection settings**: Select `HTTP endpoint URL` - and for the Endpoint URL, use the following URL, replacing **\** with the App Name field value from step 1, and **companydomain.com** with the domain of your Google workspace:
```Text Commercial Environment
https://app.moveworks.ai/@companydomain.com/gchat/events
```
```Text GovCloud Environment
https://app.moveworksgov.ai/@companydomain.com/gchat/events
```
```Text EU Environment
https://app.am-eu-central.moveworks.ai/@companydomain.com/gchat/events
```
```Text Canada Environment
https://app.am-ca-central.moveworks.ai/@companydomain.com/gchat/events
```
**Permissions:** Before moving forward, make sure that you see a message stating the chat app is available to everyone in your workspace. This will ensure that users can access your Moveworks AI Assistant
:warning: Note: If you do not see the below text, your AI Assistant configuration will not be functional.

Once you have filled out the settings above, please take a screenshot of the settings before clicking “**Save changes**”.
**Save the HTTP endpoint URL you have entered as this will be needed by the Moveworks team or uploaded into Moveworks Setup.**
# 6. Publish the app to your workspace on the Google Workspace Marketplace SDK
### Configure the app in Google Workspace Marketplace SDK
Before moving forward with Chat App configuration, you will need to first publish your app with the Google Workspace Marketplace SDK ([Google documentation link](https://developers.google.com/chat/how-tos/apps-publish#publish-marketplace))
1. First, in the same Google Cloud project, search for and select `Google Workspace Marketplace SDK`
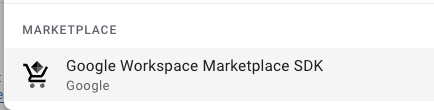
2. Select enable

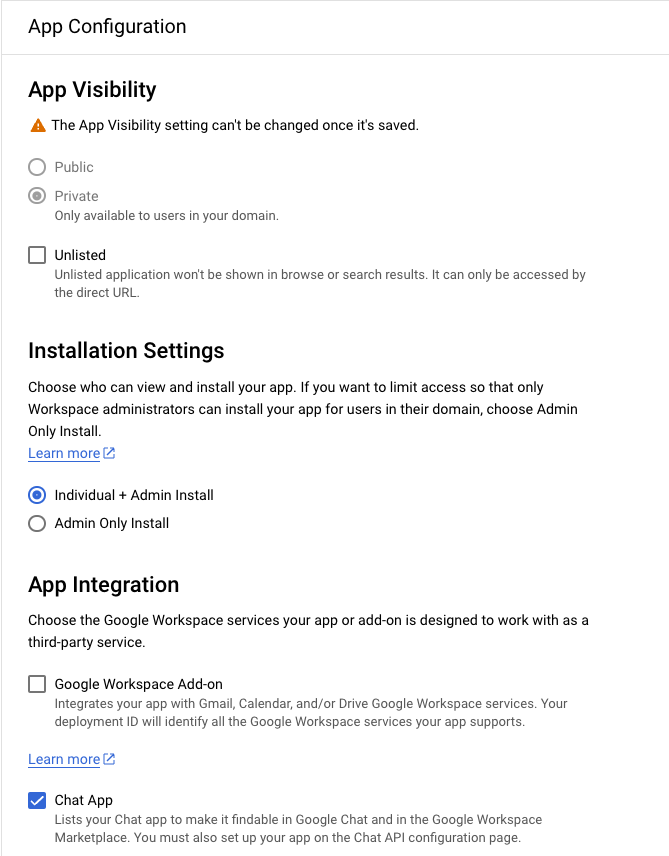
3. On the `App configuration` page, select the following settings:
1. **App Visibility**: `Private`
2. **Installation Settings**: `Individual + Admin Install`
3. **App Integration**: `Chat app`
4. For the `Developer Information` section, fill in the following information:
1. **Developer Name**: `Moveworks`
2. **Developer website URL**: `https://www.moveworks.com`
3. **Developer Email**: `support@moveworks.ai`
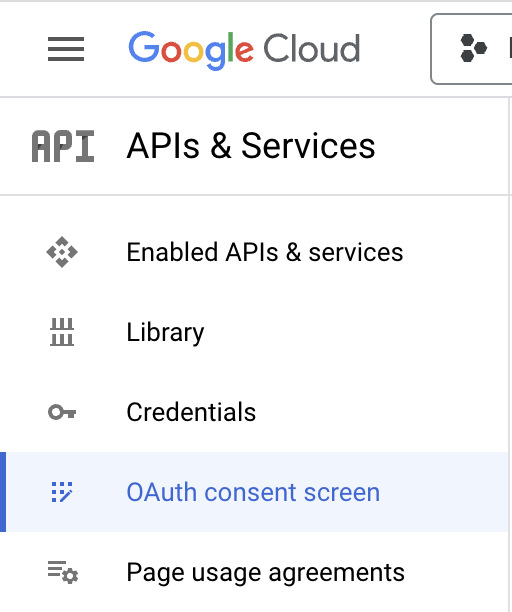
### Configure Oauth Permissions page
Google will now require you to set up an Oauth Permissions page in order to publish to the marketplace. You will be able to navigate to Oauth permissions page configuration via a link in a warning box on the Store Listing page or by clicking on the option in the vertical menu on the left of the page.
1. Set the user type to Internal
2. **AI Assistant name** : Same as app name
1. **User Support Email** : Choose email from drop down.
2. **Developer Contact Information** : `support@moveworks.ai`
3. Save and Continue
4. For the initial set up, scopes are not necessary, press Save and Continue
### Publish App via the Store Listing Page
1. Return to the Google Workspace Marketplace SDK, via Enable APIs and Services tab in left menu.
2. Click Google Workspace Marketplace SDK
3. Now go to the Store Listing tab
4. In App details, select the arrow next to the default language and add a Detailed Description
5. **Category** :Use the drop down to choose a selection
6. **Graphics Assets** and **Screenshots**: Temporarily can use a placeholder. This will eventually be updated to your AI Assistant’s avatar. This can be a PNG from your local machine for the time being.
7. **Support Links**
1. **Terms of Service URL**: `https://www.moveworks.com/terms`
2. **Privacy Policy URL**: `https://www.moveworks.com/us/en/legal/privacy-policy`
3. **Support URL**:`https://status.moveworks.com/`
8. **Distribution**: Choose all regions, unless certain regions are specified.
9. Click Publish
# 7) Confirm App installation in Google Chat
AI Assistant will be available as a recipient of a chat once publishing is complete.
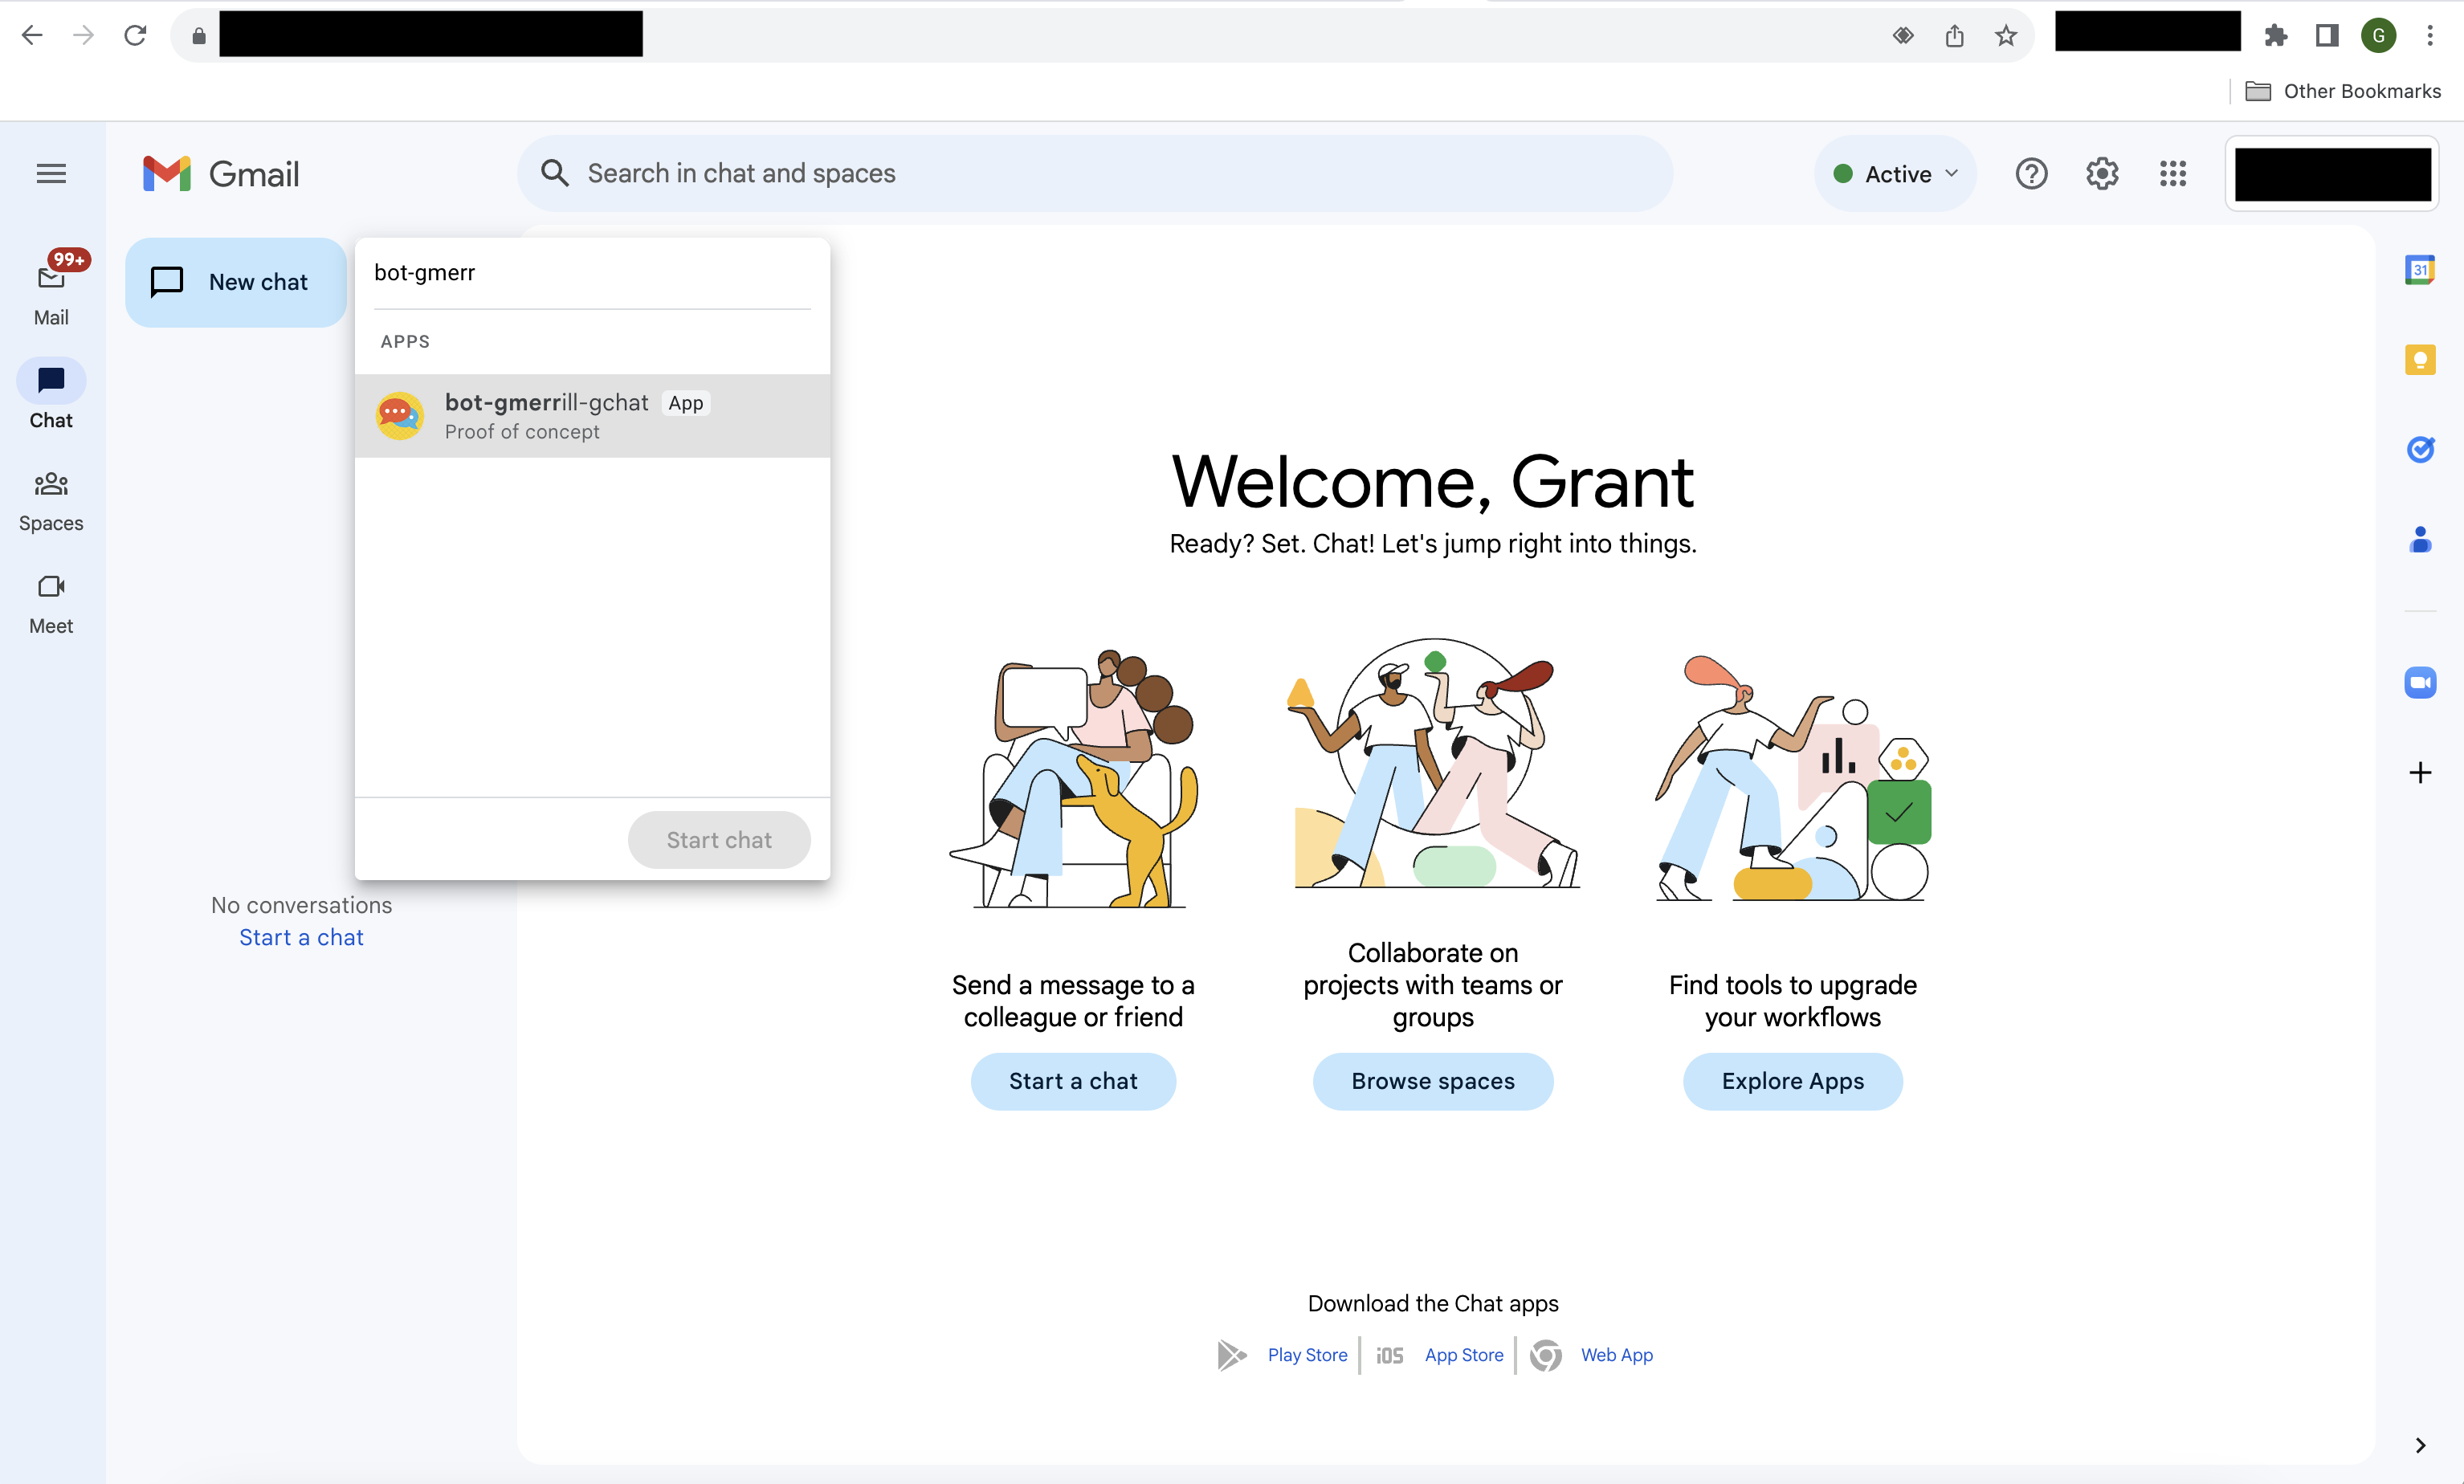
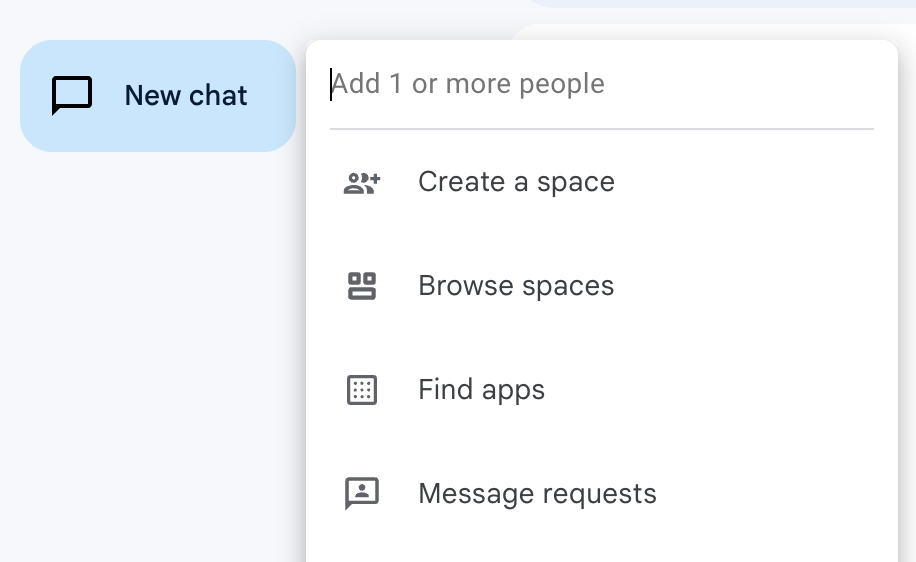
After publishing the app, if the "New chat" search cannot find your AI Assistant and "Find apps" is not visible like in the screenshot below, your organization may not allow 3rd party app. Please check with your Google Workspace Admin about security settings for 3rd party apps as **documented in this page (link)**.
### Proactive AI Assistant Reach Out
In order to have the AI Assistant reach out to users, domain wide delegation will need to be enabled.
Please follow the steps in this Google Documentation on [Domain Wide Delegation](https://developers.google.com/cloud-search/ai-assistant/getting-started/overview/delegation) to enable this feature. Add **chat.spaces.create** ([https://www.googleapis.com/auth/chat.spaces.create](https://www.googleapis.com/auth/chat.spaces.create)) OAuth scope in Step 5 of this documentation.
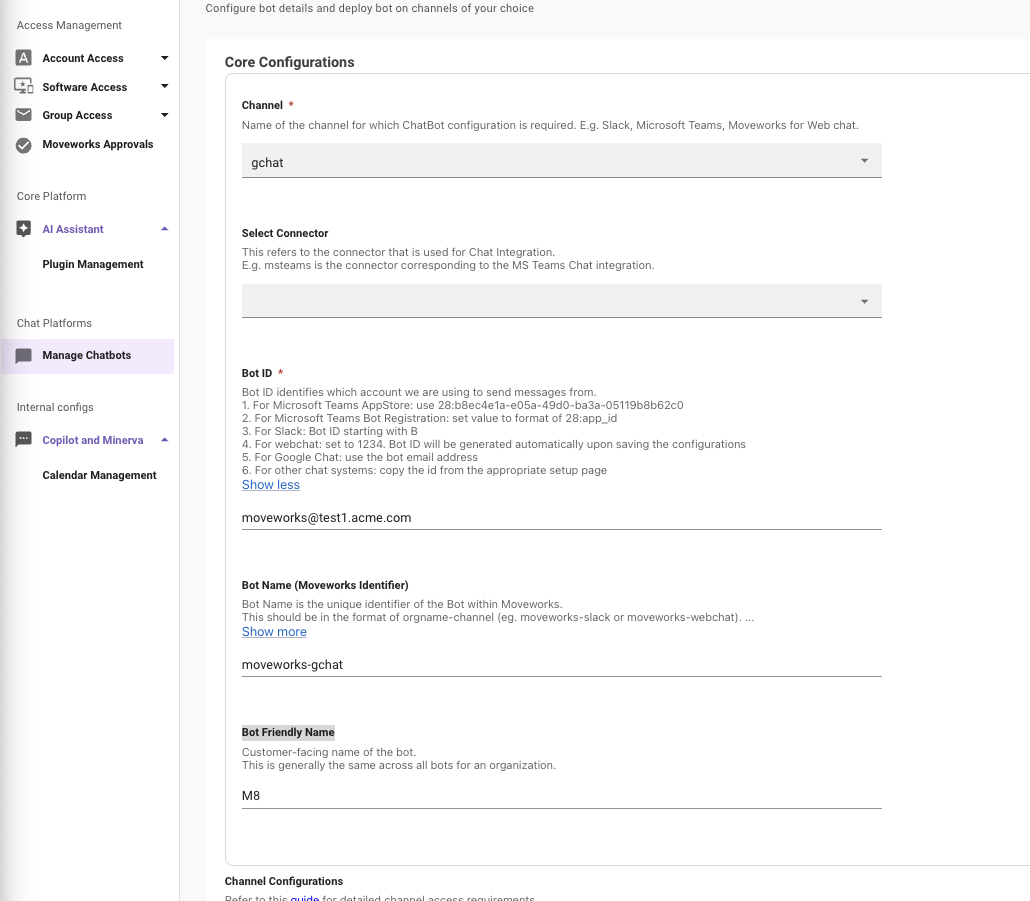
# 8. Add the Chat Bot to Moveworks Setup
Navigate to **Manage Chatbots** and click **Create**
1. From the **Channel** dropdown, choose **gchat**
2. Leave the **Select Connector** dropdown blank
3. Set **Bot ID** to the **[appname@companydomain.com](mailto:appname@companydomain.com)** email value from Step 5
4. Set **Bot Name (Moveworks Identifier)** to **\{org\_name}-gchat** where *org\_name* should be consulted with on by your Customer Success team as this value is not editable after saving.
5. Set **Bot Friendly Name** to your bot name.
6. The **Channel Configurations** dropdown should be set to **Gchat Vars**
7. **Google Chat App ID** should be the same value as **Bot ID**
8. Upload your JSON credential file from Step 4 into the **Google Chat credentials** upload
9. Optionally, set the **Enable Proactive Reachout for Google Chat** if proactive notifications should be sent to the GChat bot. This is most likely the case and is common to enable
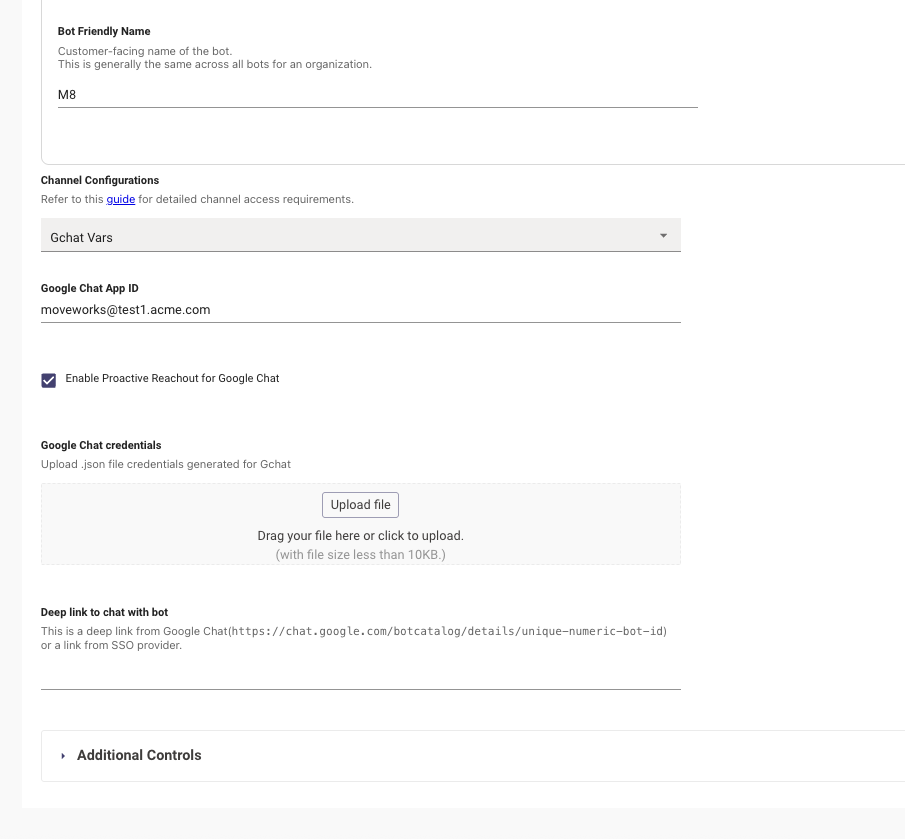
10. Click **Submit** in the bottom right
Next, navigate to **Import Users** and click **Edit**
1. Click **Next**
2. Click **Advanced Mode**
3. Within the Google Workspace or Google Drive user ingestion, map a gchat Channel ID like below:
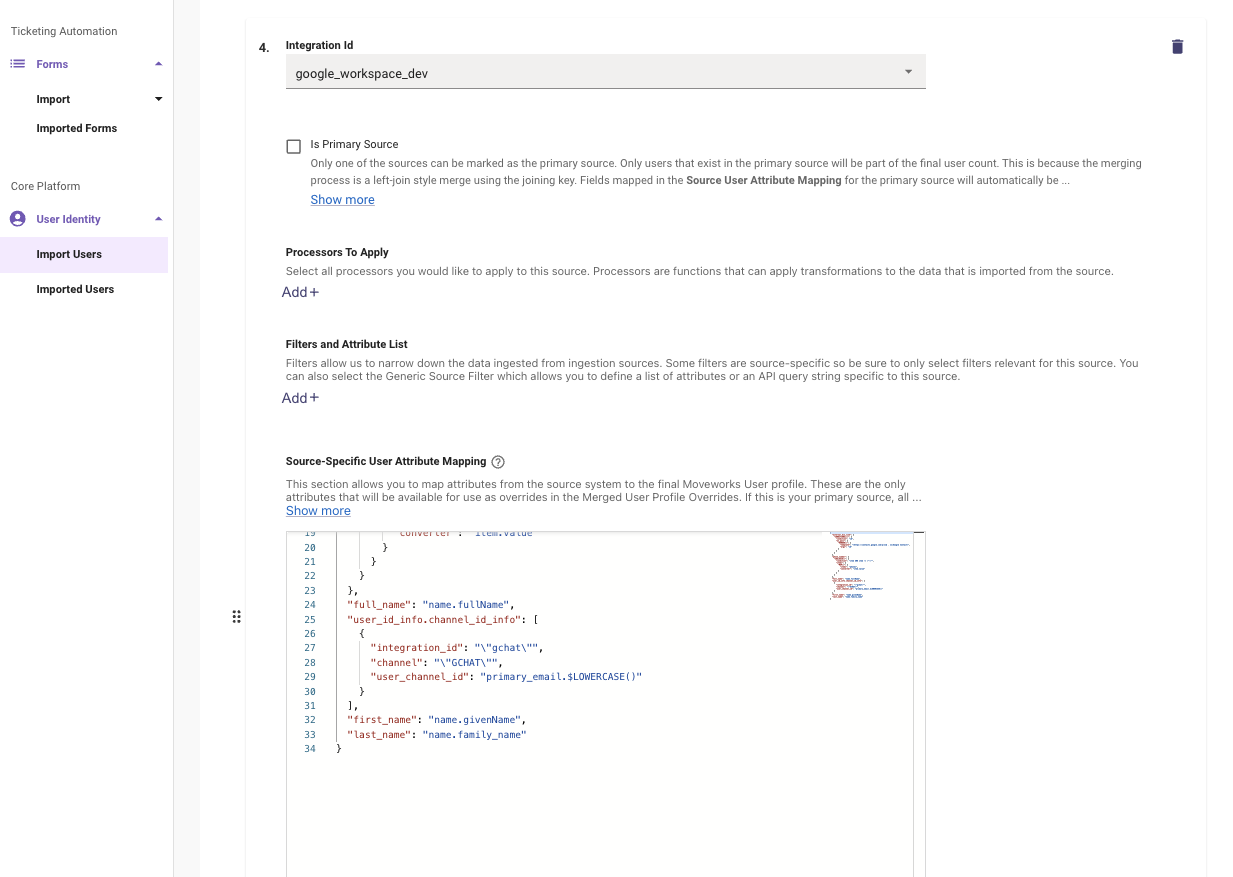
```json
"user_id_info.channel_id_info": [
{
"integration_id": "\"gchat\"",
"channel": "\"GCHAT\"",
"user_channel_id": "primary_email.$LOWERCASE()"
}
]
```
4. Click **Submit** at the bottom right