On-Prem Agent Installation Guide
On-Prem Agent Installation Guide
Prerequisites
System/Server Requirements
The Moveworks Agent runs on Linux. Recommended OS with the following requirements (which are the same as “t3.medium” if hosted in AWS or a “B2” if hosted in Azure):
- 4 GB RAM
- 2 CPUs
- 30 GB of disk space
OS Requirements:
- VM with Ubuntu 20.04 and above OR RHEL 8.0 and above.
- Latest Version of Docker Engine or Podman must be pre-installed.
Server Setup
- Procure server(s) matching the requirements outlined above. Note: Moveworks recommends at least 2 servers for high availability (HA).
- Set up the Server with Docker or Podman. Note: Podman is recommended for a fully root-less implementation.
- Recommended: If possible, Moveworks recommends that you use a separate (non-root) user for running the Moveworks Agent. This limits the granting of unintended access rights for the Agent.
Network Requirements
- Ensure the server has proper network access to the on-premises system you intend Moveworks to connect to.
- Ensure the server has proper network access upstream to the Moveworks Platform.
- Note: You can run the following curl command on the server to verify connection works:
curl <auth_url>If Network connection is set up correctly, you should receive404 page not foundas the response. - auth_url to be used:
- For US commercial region:
https://agent.moveworks.com/api/v1/auth - For US GovCloud region:
https://agent.moveworksgov.com/api/v1/auth - For EU region:
https://agent.am-eu-central.moveworks.com/api/v1/auth - For Canada region:
https://agent.am-ca-central.moveworks.com/api/v1/auth - For Australia region:
https://agent.am-ap-southeast.moveworks.com/api/v1/auth - For Japan region:
https://agent.jp.moveworks.com/api/v1/auth - For UK region:
https://agent.uk.moveworks.com/api/v1/auth - For US Prod 4 region:
https://agent.prod4.us.moveworks.com/api/v1/auth - For US Prod 3 region:
https://agent.prod3.us.moveworks.com/api/v1/auth
- For US commercial region:
- Firewall rules or HTTP Proxy settings in place to allow for outbound communication to
https://public.ecr.awsand, to the Agent URL depending on region:- For US Commercial region:
https://agent.moveworks.com/ - For US GovCloud region:
https://agent.moveworksgov.com/ - For EU region:
https://agent.am-eu-central.moveworks.com/ - For Canada region:
https://agent.am-ca-central.moveworks.com/ - For Australia region:
https://agent.am-ap-southeast.moveworks.com/ - For Japan region:
https://agent.jp.moveworks.com/ - For UK region:
https://agent.uk.moveworks.com/ - For US Prod 4 region:
https://agent.prod4.us.moveworks.com/ - For US Prod 3 region:
https://agent.prod3.us.moveworks.com/
- For US Commercial region:
- Note: You can run the following curl command on the server to verify connection works:
Credentials and Information Provided by the Customer:
- URL of the AD Domain controller or load balancer that the agent should connect to
- Active Directory & OpenLDAP service account username & password (Only applicable for customers using on-premises Active Directory or OpenLDAP)
- REST Authentication (Only applicable for customers using On-Premise Connections to make REST API Calls i.e. Jira, Confluence, Sharepoint, etc)
- Base 64 encoded
.pemcert file for LDAPS connection (typically this is the root cert in base64 format)
Moveworks Agent Credentials:
-
Access Key (Org Name): This is the same as your Customer ID which you should have used when setting up SSO.
-
Access Secret: To get the Access Secret, you must first generate it from the Agents module in Moveworks Setup:
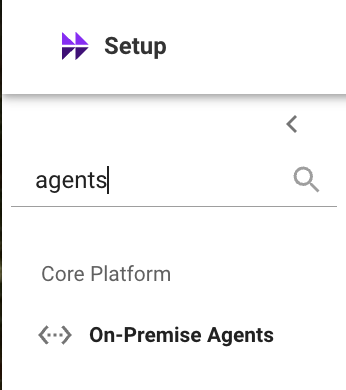
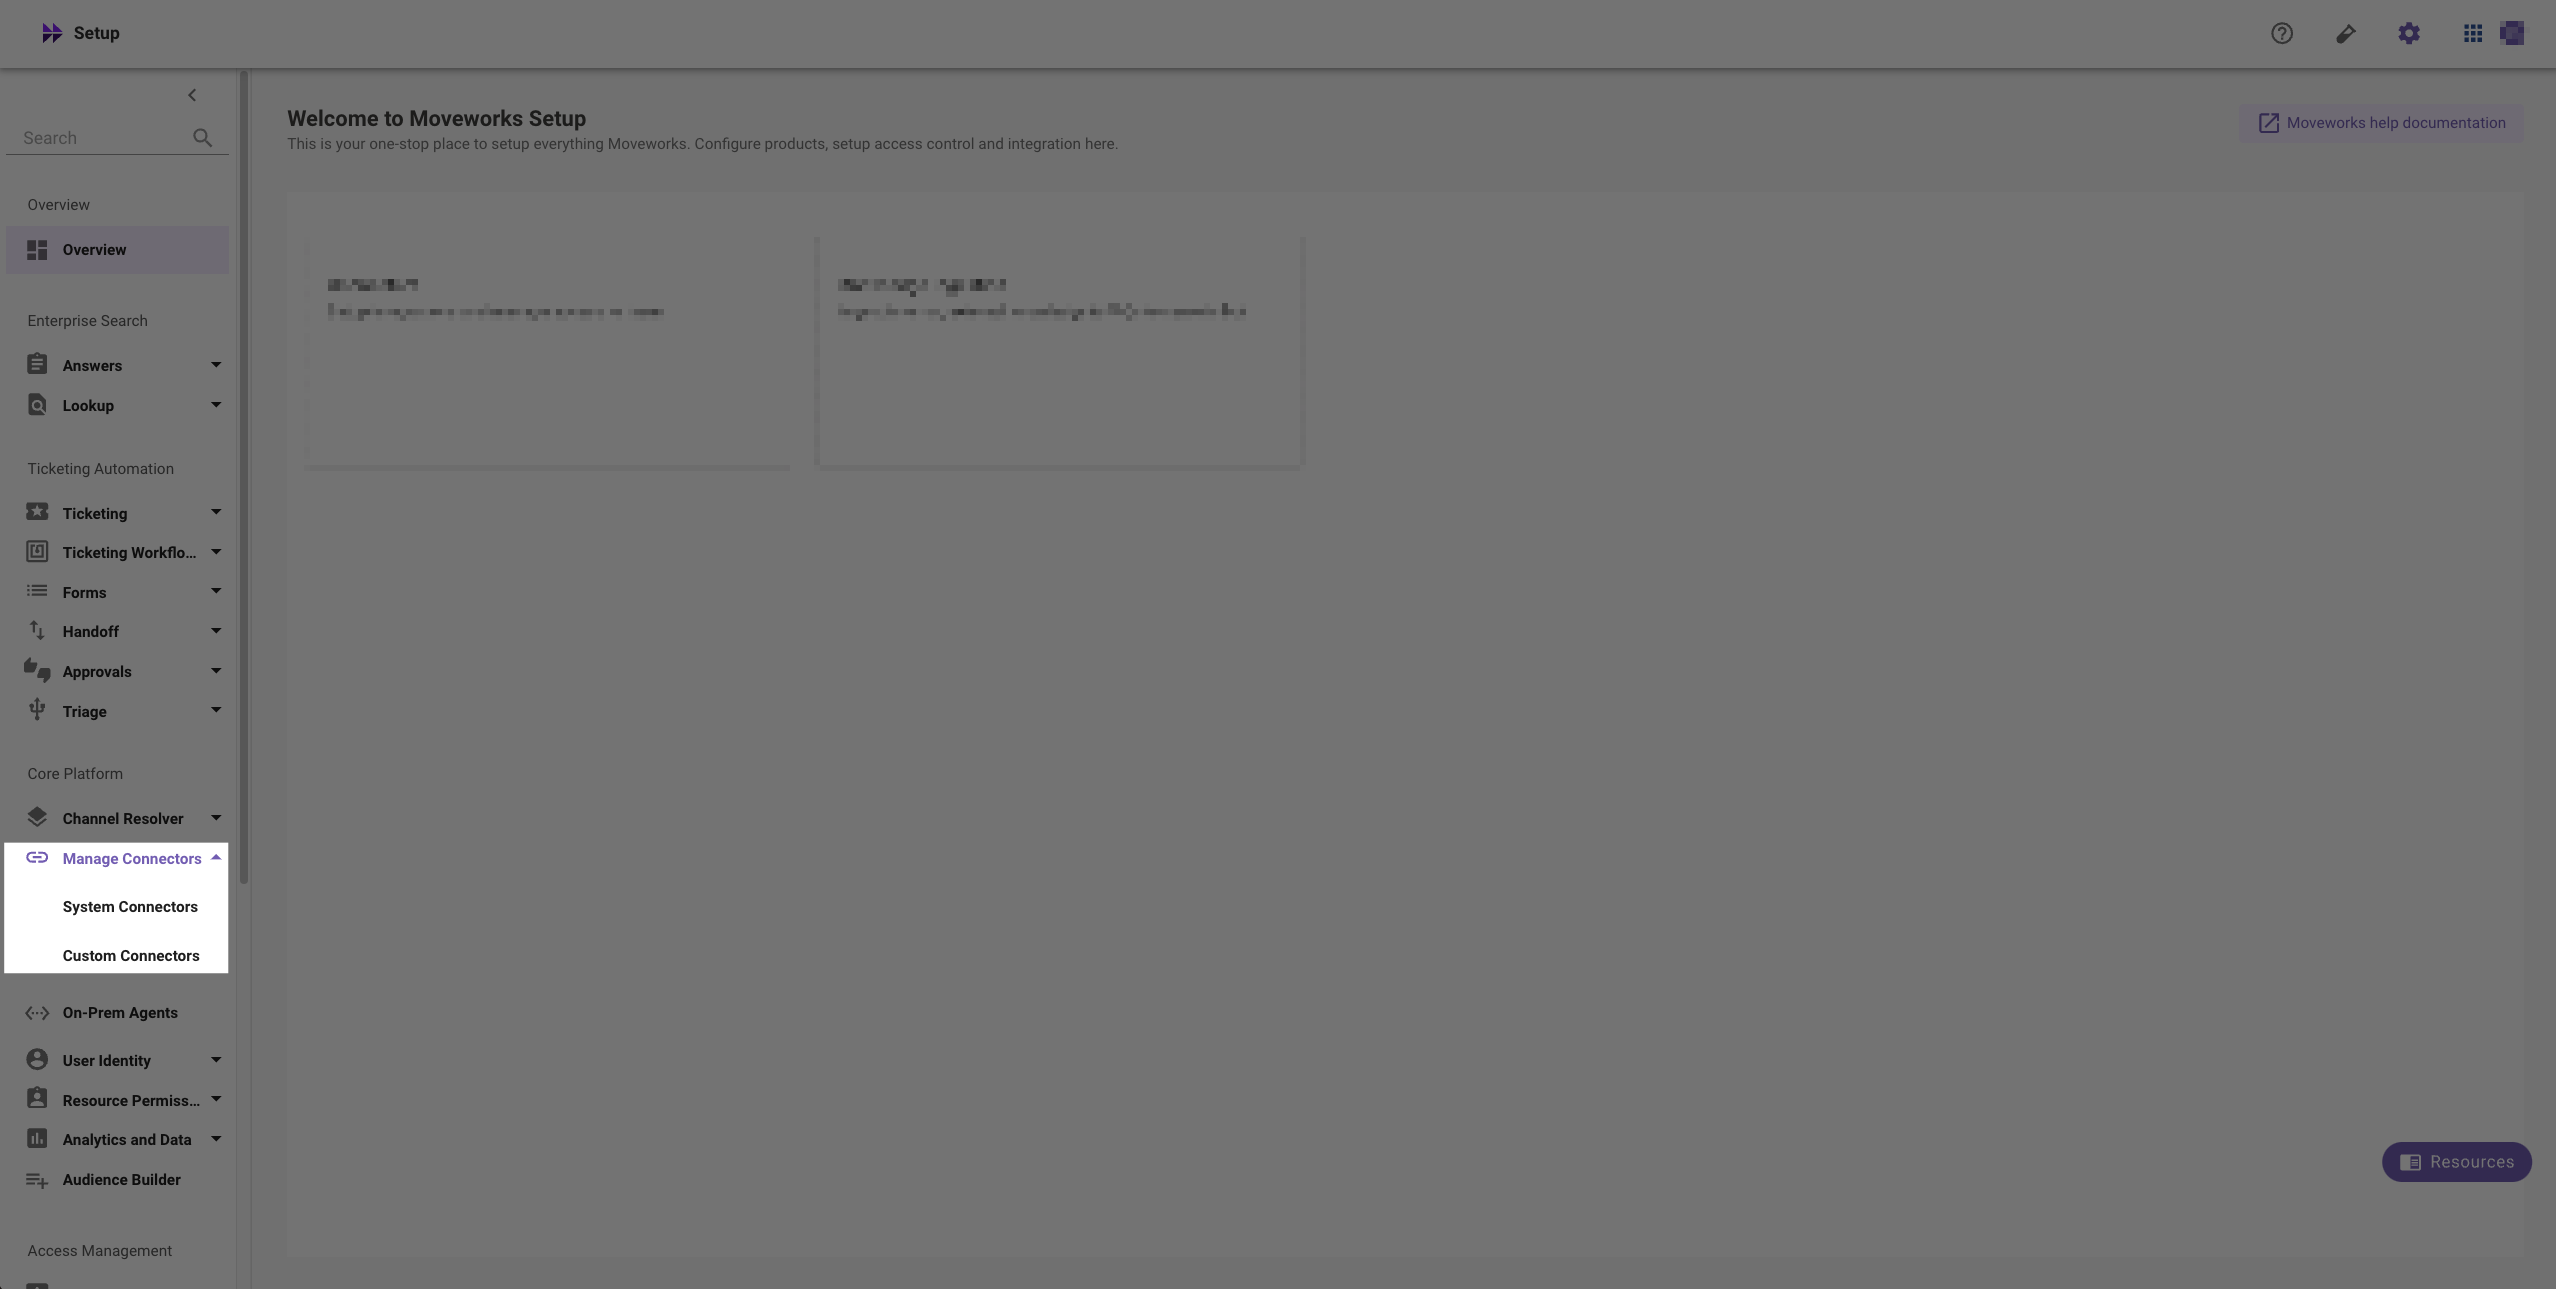
- Navigate to the Agents module in the left navigation bar under Core Platform.
- Click on the Generate Secret button in the bottom right. A pop-up window will appear showing the
Org Access Secret. - Copy the Org Access Secret and save it. You will need this value for the installation script.
IMPORTANT: Secure Your Org Access Secret
Please be advised that the API token for the Org Access Secret is displayed only once. It is imperative that you save it immediately for future use. Please handle the secret securely, and do not share it in plain text.
Installation Method
- Change the directory to where you need to setup the agent. (Home Directory is recommended)
- Download the agent installation script using
curlorwget(these links redirect to GitHub): - Set the script’s permissions to allow execution.
- Select the runtime between docker and podman and run the script
orShellShell
The script installs Docker or Podman automatically if not already present.
Commands shown with sudo apply to Docker deployments. Omit sudo when using Podman.
To use host network mode (needed if IP forwarding is disabled or the container cannot access the network), append --host-network to the command: sudo ./setup_agent.sh --docker --host-network
-
Configure the Setup
Example Prompts & Values:
If the script fails to fetch the agent image from ECR, see Fetching the Agent Image Without ECR below.
- Configuring the Agent
Example Prompts & Values:
- Create the connector
-
Go to Moveworks Setup
-
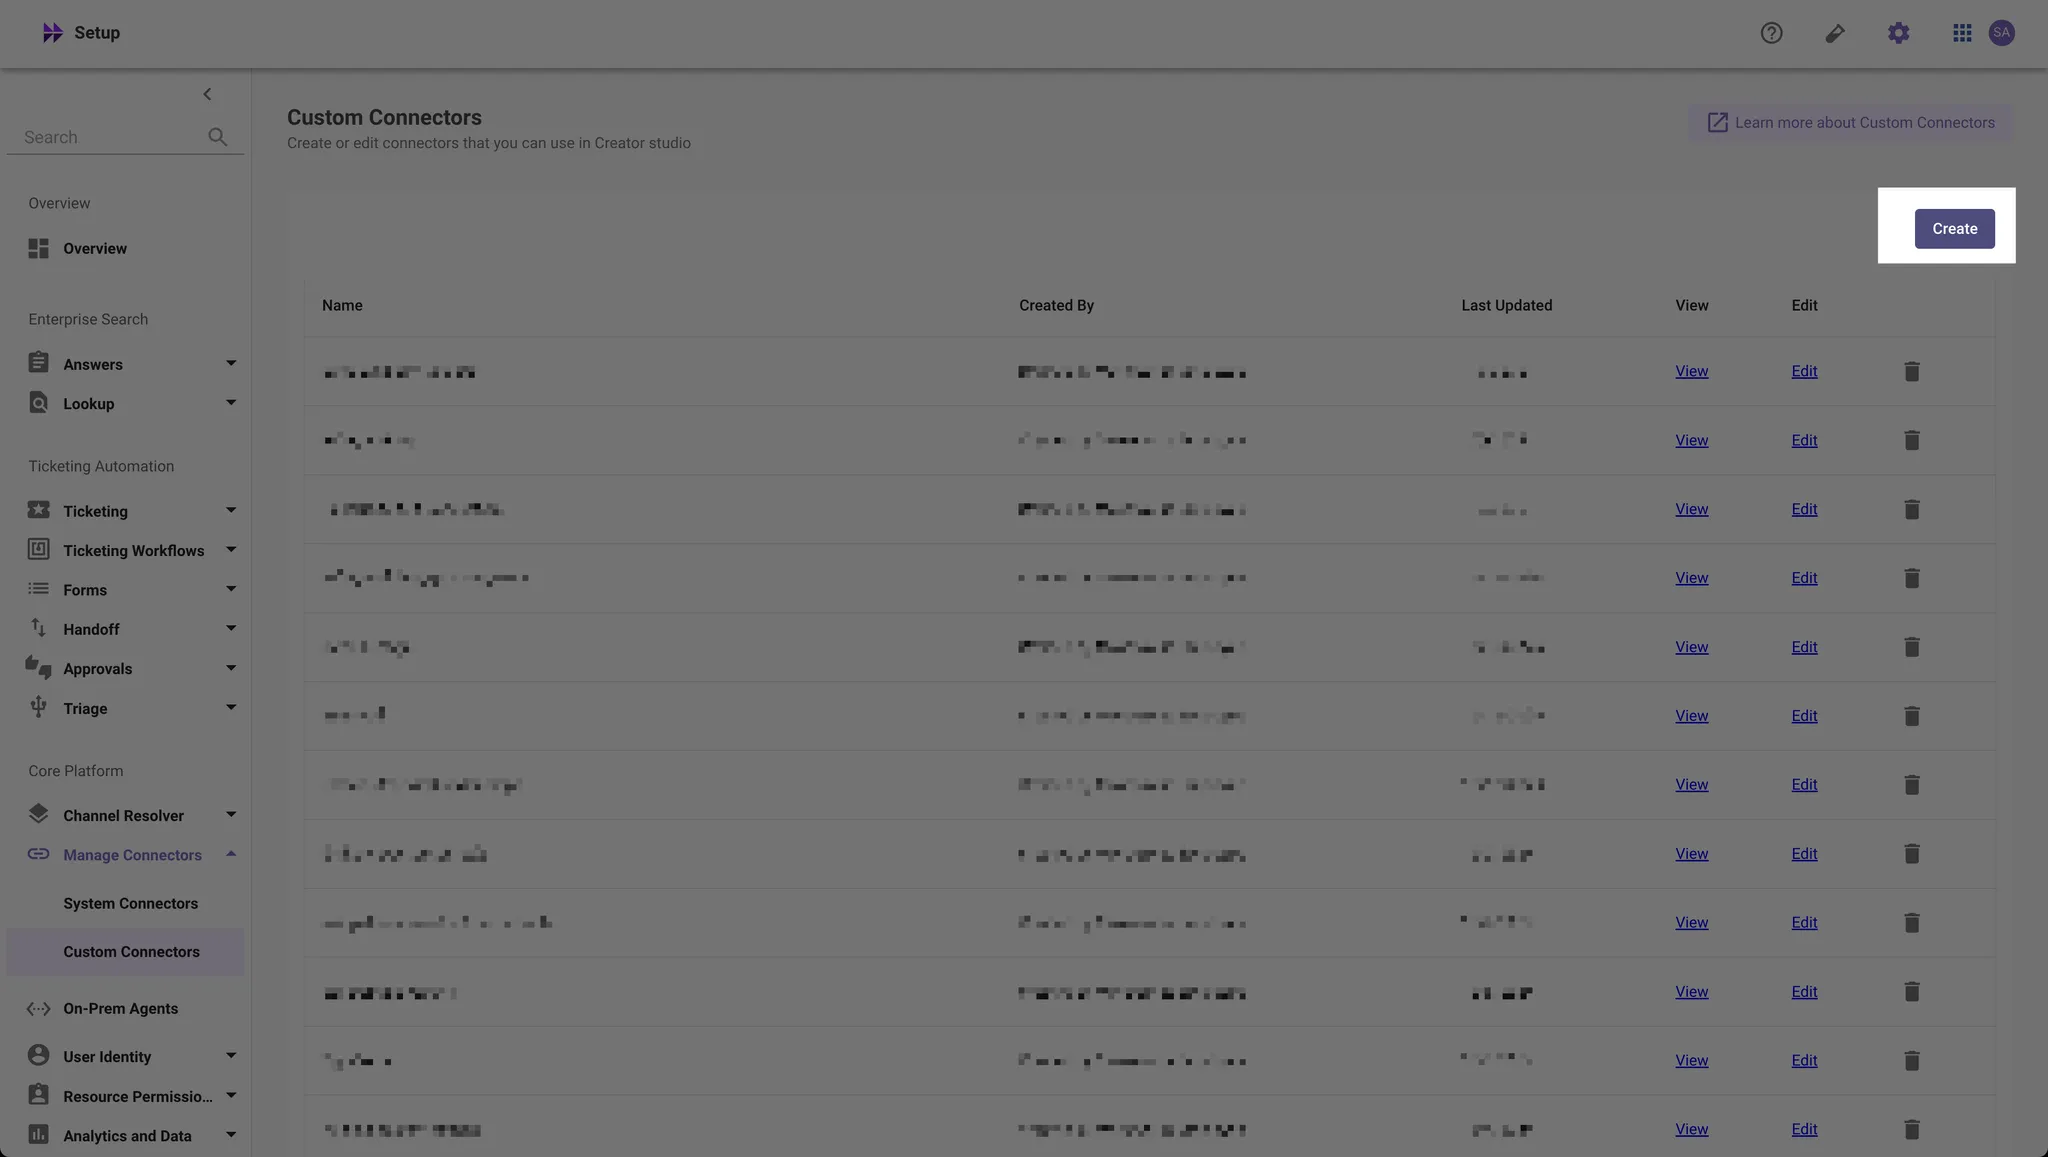
Select System Connectors or Custom Connectors depending on if the system you have added is used for a built-in functionality or for an Agent Studio use case.
-
Create Connector
-
Select On Premise Auth as the “Auth Config” and enter the Service Name from Step 6. If you are creating a Agent Studio connector, you must enter the Service Name and have it match the config in the agent from Step 6.
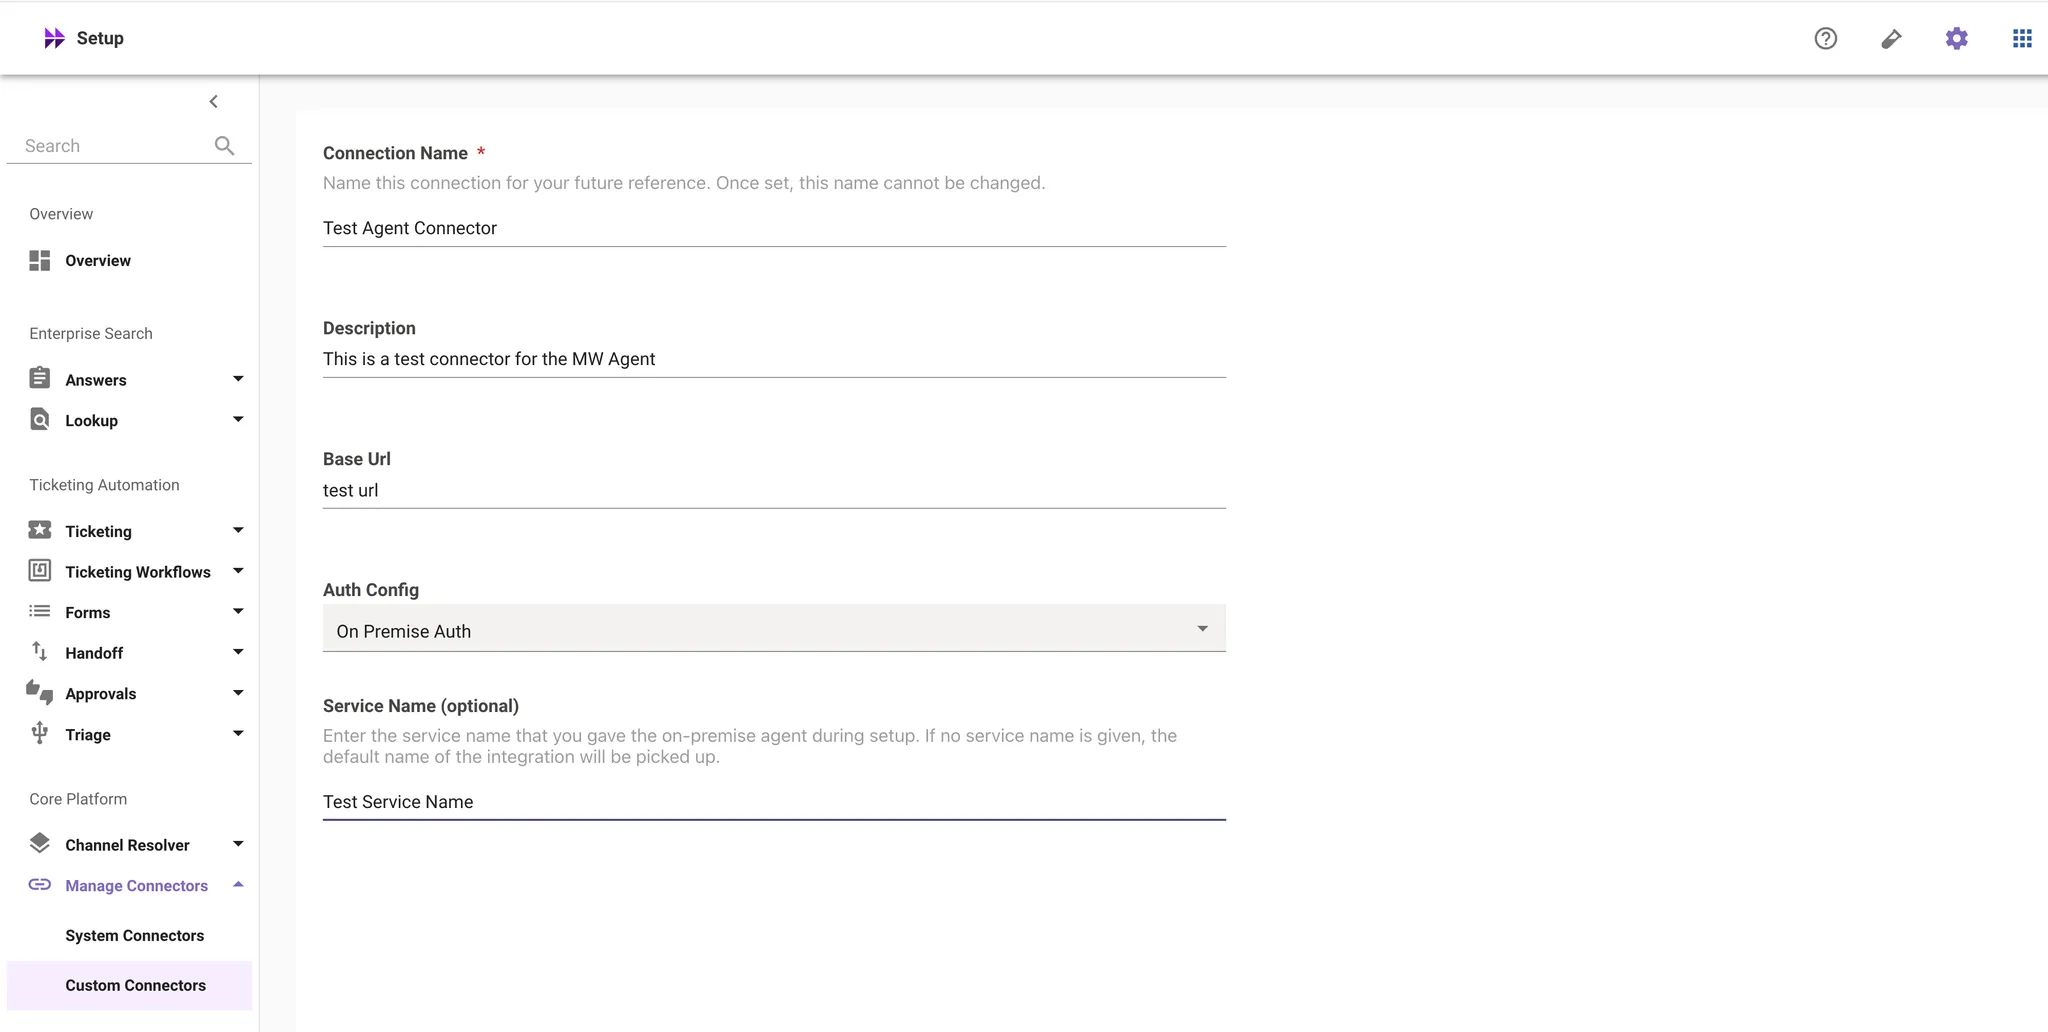
-
Save your connector.
-
Validating the Installation
- Validate OS version and connectivity — checks the OS version, connectivity to Moveworks servers, and required folders and permissions.
- Start the agent
- Check agent status — verify the containers are running:
Fetching the Agent Image Without ECR
In some scenarios, enterprises have Servers with Firewall policies which block the ability for the VM to download the Agent image from ECR and automate the setup process, this is an alternate way to fetch the image in those scenarios.
- You can start by visiting the Moveworks ECR Public Gallery and download the latest image tag .
- Save this image locally by running the command
- This will save the image as moveworks_agent.tar
- You can then load the image on the customer Server.
Image should show up on the machine on doing docker images
Now that the image has been added to the VM we can run the below commands to kick off the container.
Other Tools
- Stop all running agents — shuts down all running agents.
- Fetch LDAP certificate from the server — requires openssl:
- Reconfigure the agent:
- Upgrade the agent — upgrades all agent containers to the latest version:
Common Errors
If you encounter errors while running setup_agent.sh, see Installation Errors in the Troubleshooting Guide.